Description
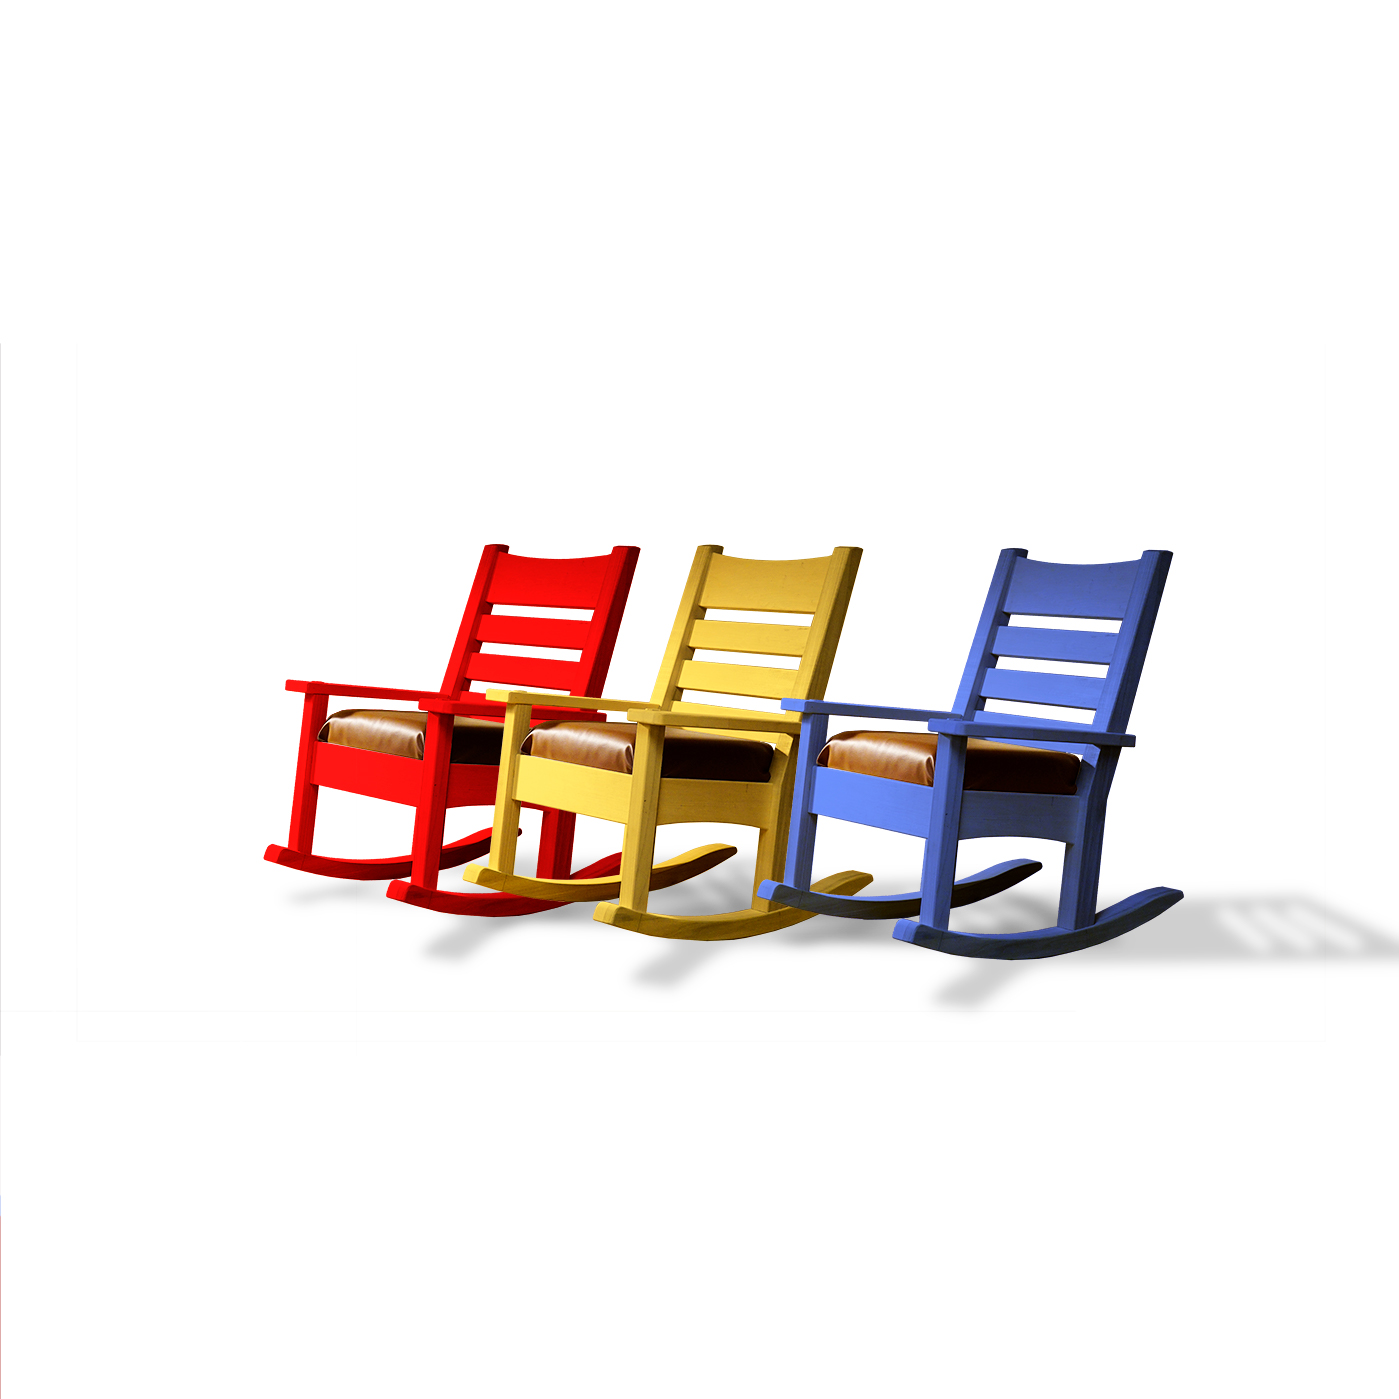
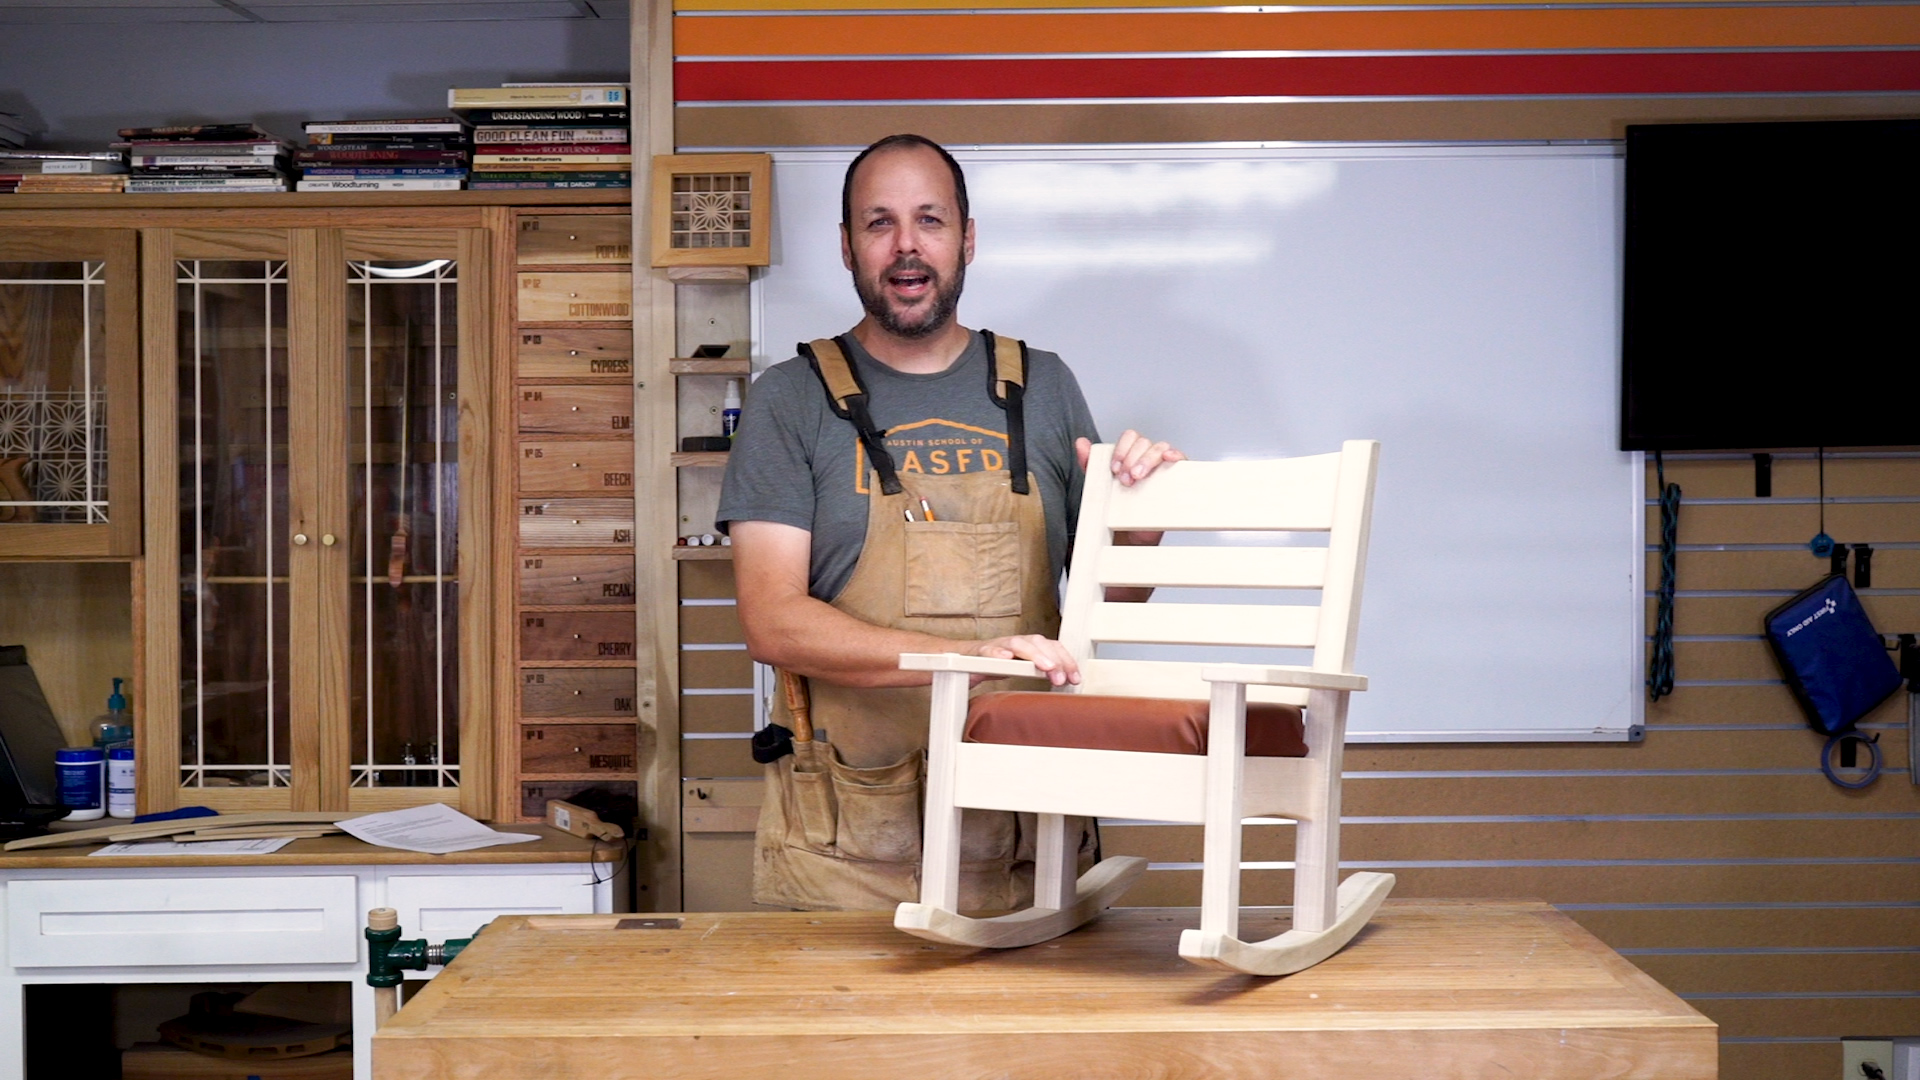
Join Mark Love as he walks us through this amazing rocking chair project step by step. A chair of any kind is a complicated but exciting woodworking endeavor. Although the end product is meant for kids, this course is best suited for intermediate to advanced woodworkers. The 10 part video course will go over several joints using lots of woodworking tools and machines while teaching pro furniture making techniques used to create custom heirloom furniture.
Tools Required:
- Chop saw
- Bandsaw (with a fence)
- Table saw
- Combination blade
- Table saw dado blade set
- Jointer (at least 6”)
- Thickness planer
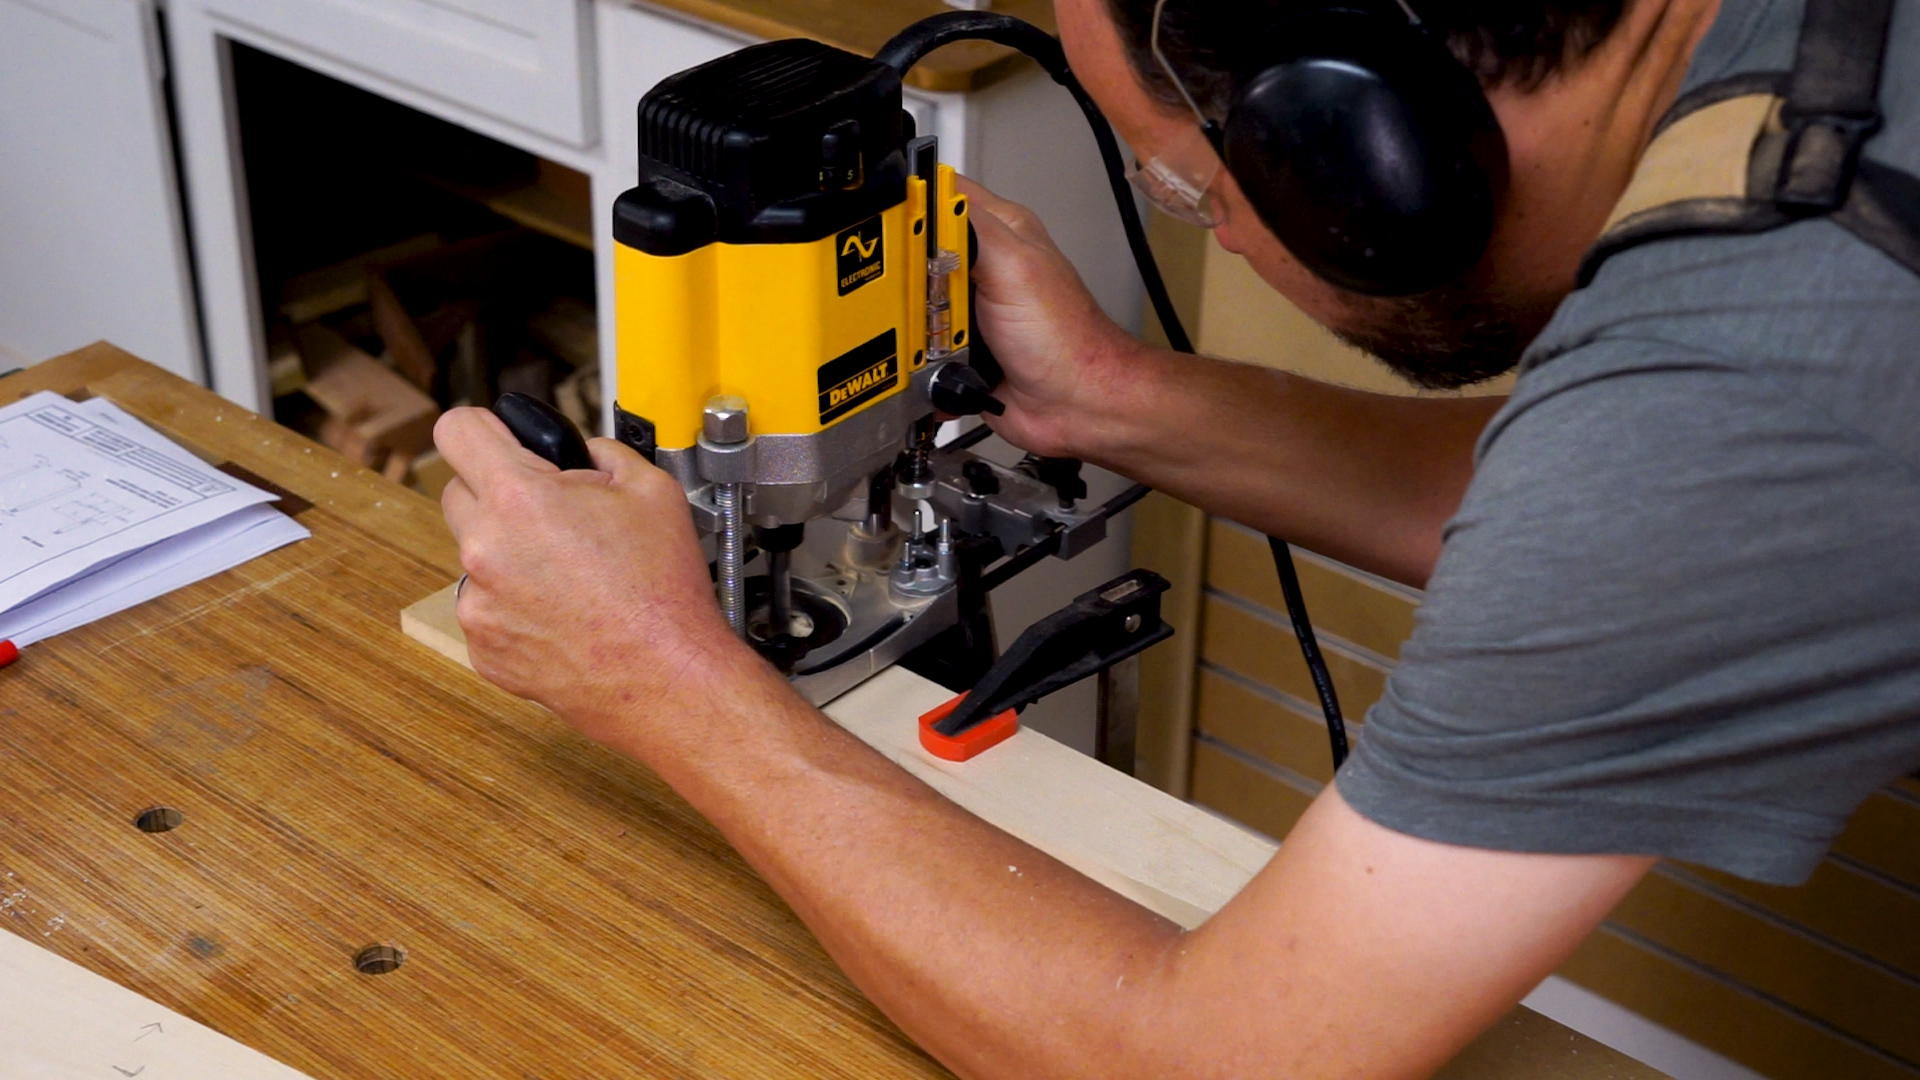
- Plunge router
- Router guide fence
- 3/8” upcut spiral bit
- ½” upcut spiral bit
- Router table
- Flush trim bit
- 1/8” roundover bit
- Sharp chisel, ½” wide or something close to that
- Tape measure, square, sharp pencils
- Sandpaper (80, 120, and 220 grits) and a good sanding block
Class Outline:
- Section 1 – Introduction
- Lesson 1.1 – Project Introduction
- Lesson 1.2 – Plans
- Lesson 1.3 – Cutlist
- Lesson 1.4 – Templates
- Lesson 1.5 – Materials
- Lesson 1.6 – Tool List
- Lesson 1.7 – Design Variations
- Section 2 – Roughing Out
- Lesson 2.1 – Gather Your Materials
- Lesson 2.2 – Why Templates?
- Lesson 2.3 – Decisions, Decisions: Select Where Your Parts Will Come From
- Lesson 2.4 – Rough Out Your Parts
- Section 3 – Milling
- Lesson 3.1 – Basic Milling
- Lesson 3.2 – Milling Pro-Tips
- Section 4 – Shaping
- Lesson 4.1 – Shaping Basics
- Lesson 4.2 – Shape Your Parts
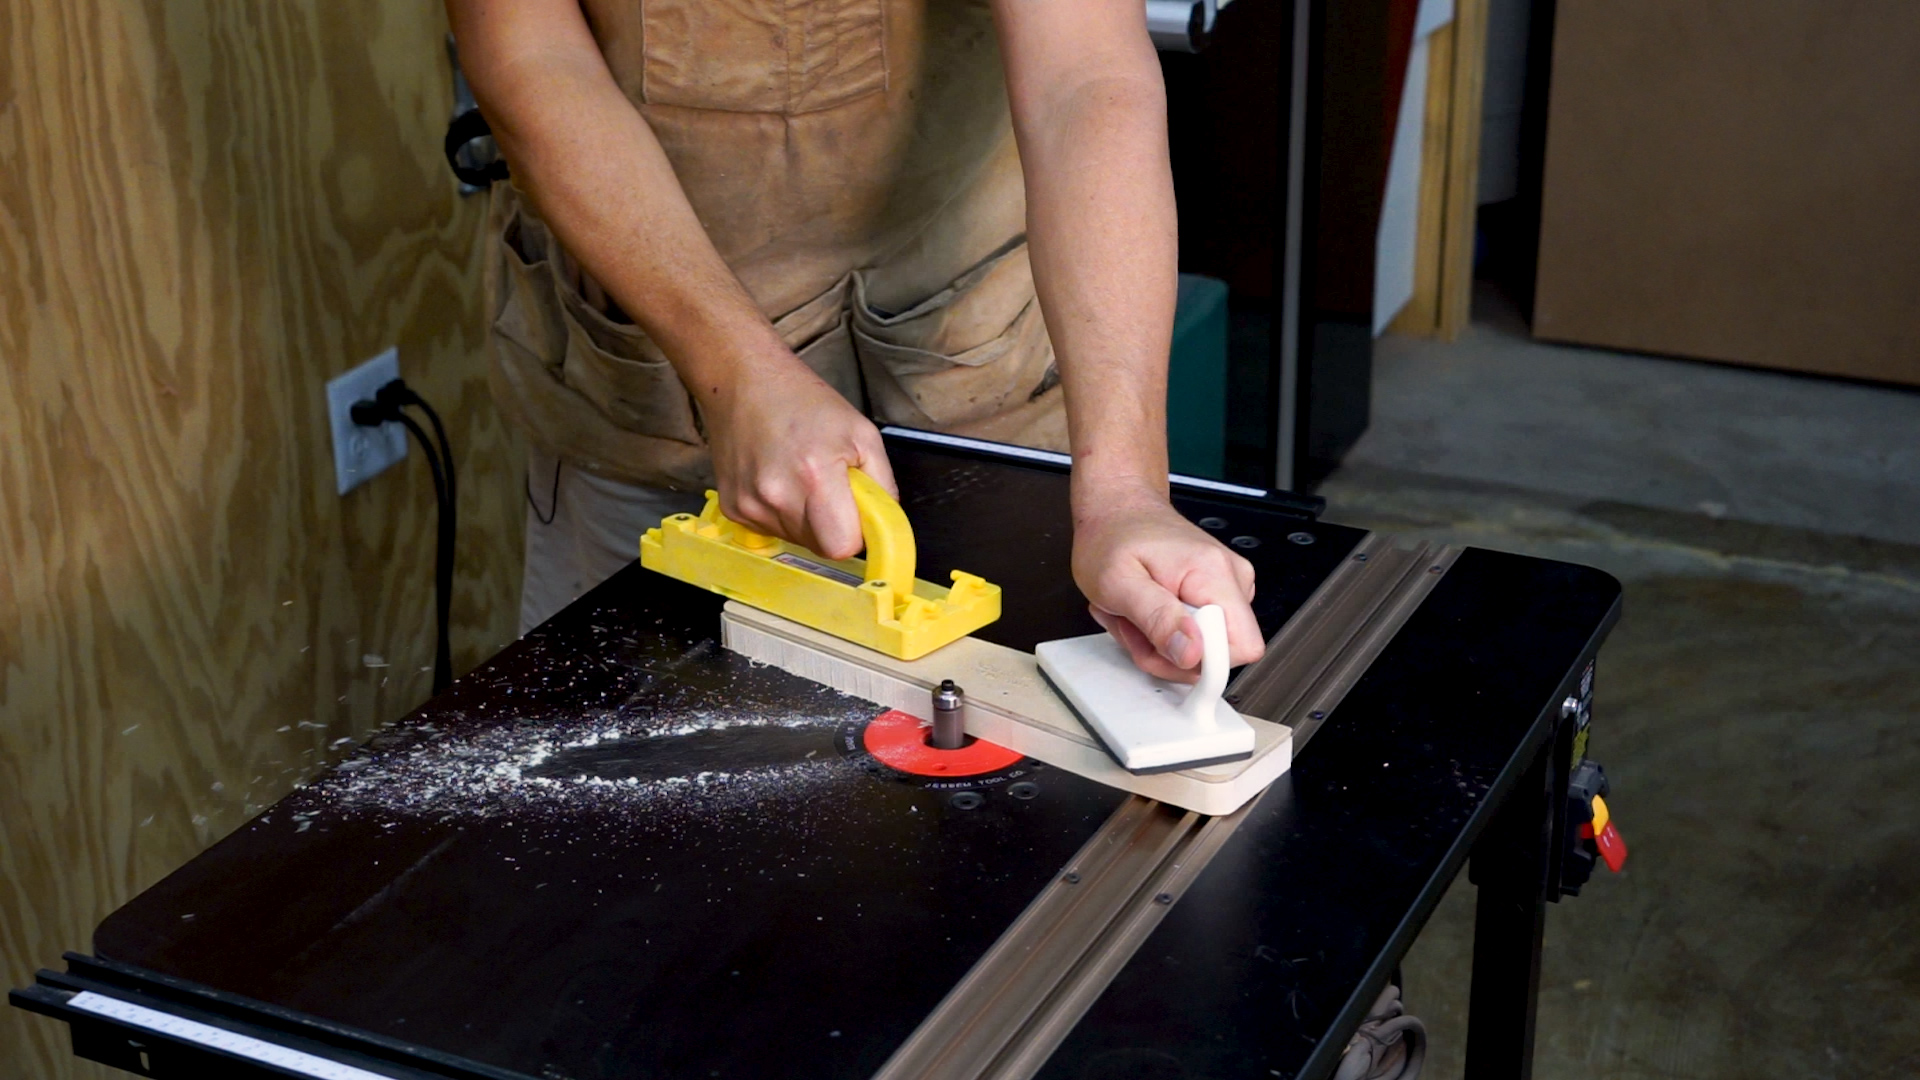
- Lesson 4.3 – Tips For Shaping On A Router Table
- Section 5 – Joinery Layout
- Lesson 5.1 – Introduction To Laying Out Joinery
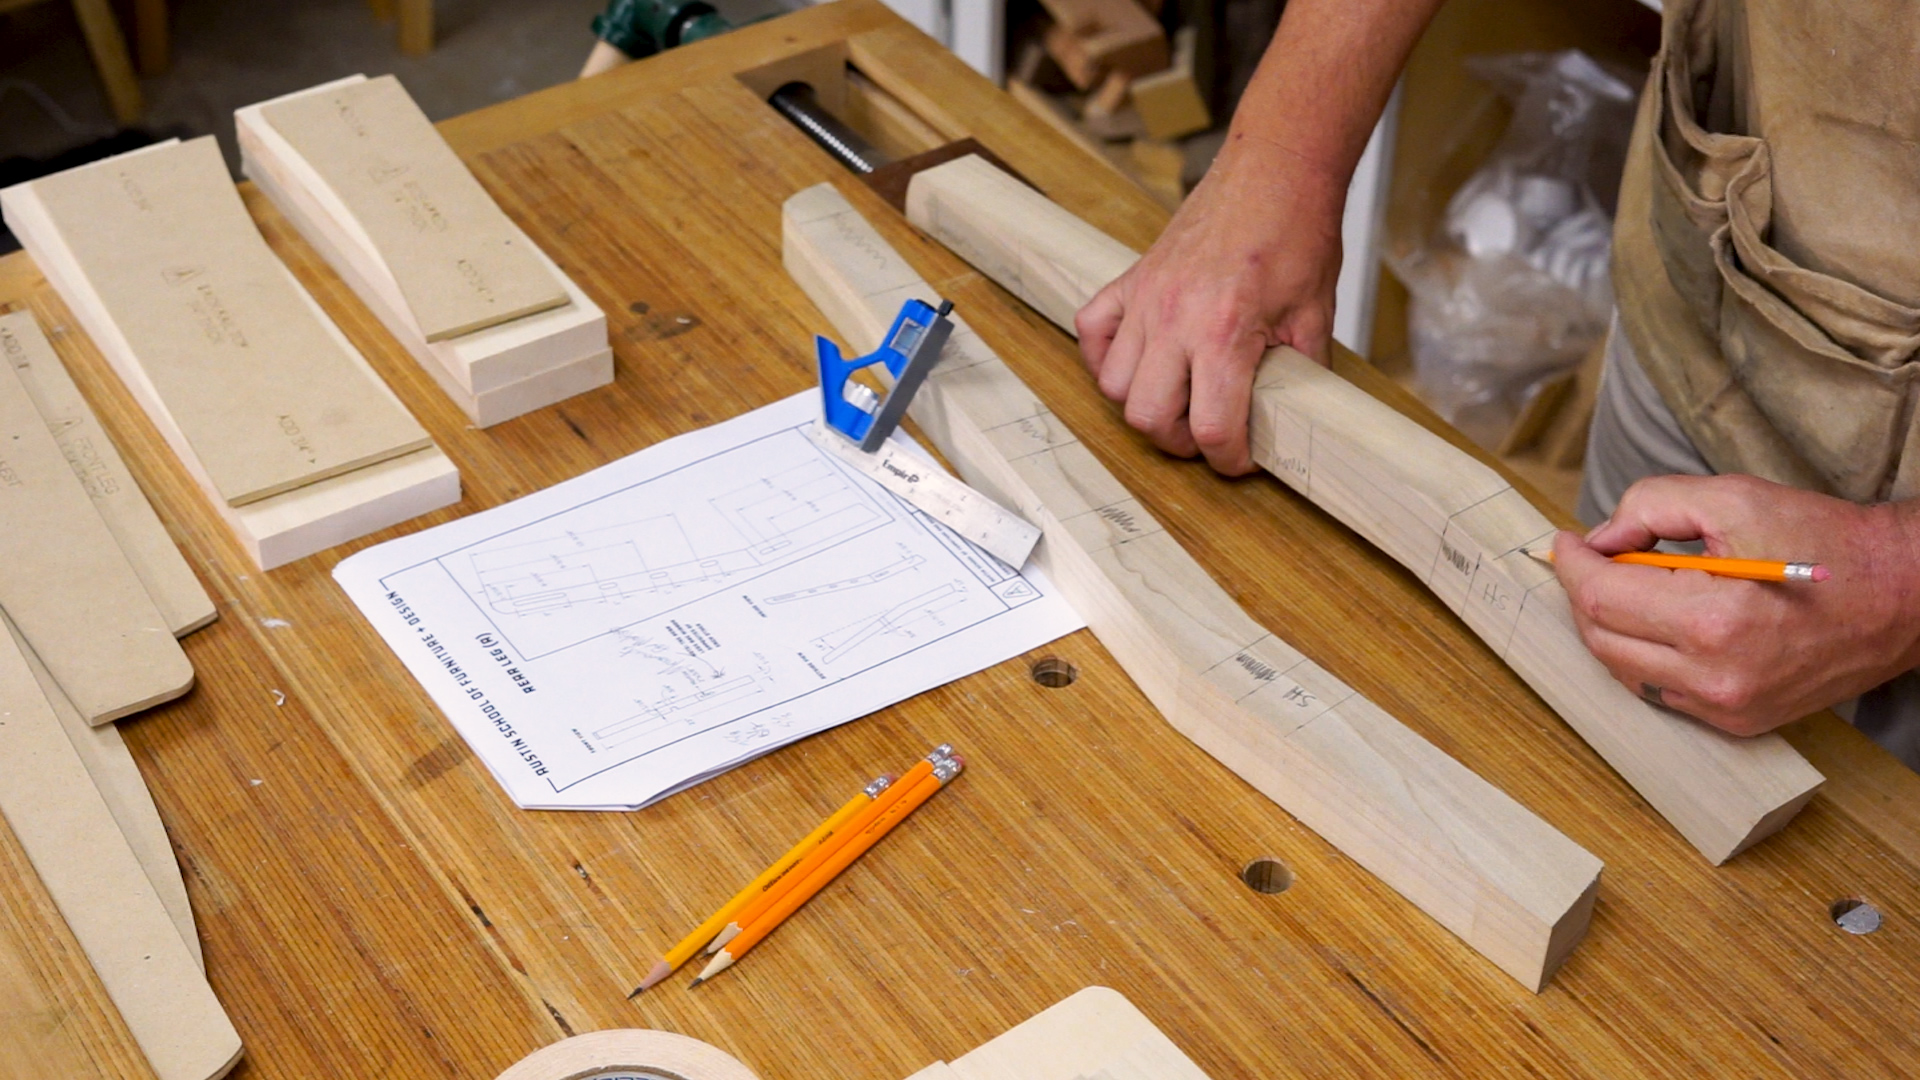
- Lesson 5.2 – Laying Out The Mortises
- Section 6 – Mortises
- Lesson 6.1 – Mortise And Tenon Joints
- Lesson 6.2 – Plunging Your Mortises
- Lesson 6.3 – Tips For Mortising with A Plunge Router
- Section 7 – Tenons
- Lesson 7.1 – Tenon Basics
- Lesson 7.2 – Cut Your Shoulders
- Lesson 7.3 – Cut Your Cheeks
- Lesson 7.4 – Notch The Haunched Tenons
- Lesson 7.5 – Round Over Your Tenon Edges
- Lesson 7.6 – Make Your Wedges
- Section 8 – The Seat
- Lesson 8.1 – Dry Assemble Your Chair
- Lesson 8.2 – The Seat
- Lesson 8.3 – Shape Remaining Parts
- Section 9 – Half Lap Joints
- Lesson 9.1 – Half Lap Basics
- Lesson 9.2 – Cut Your Dadoes
- Lesson 9.3 – Cut The Rabbet On The Armrest
- Section 10 – Assembly
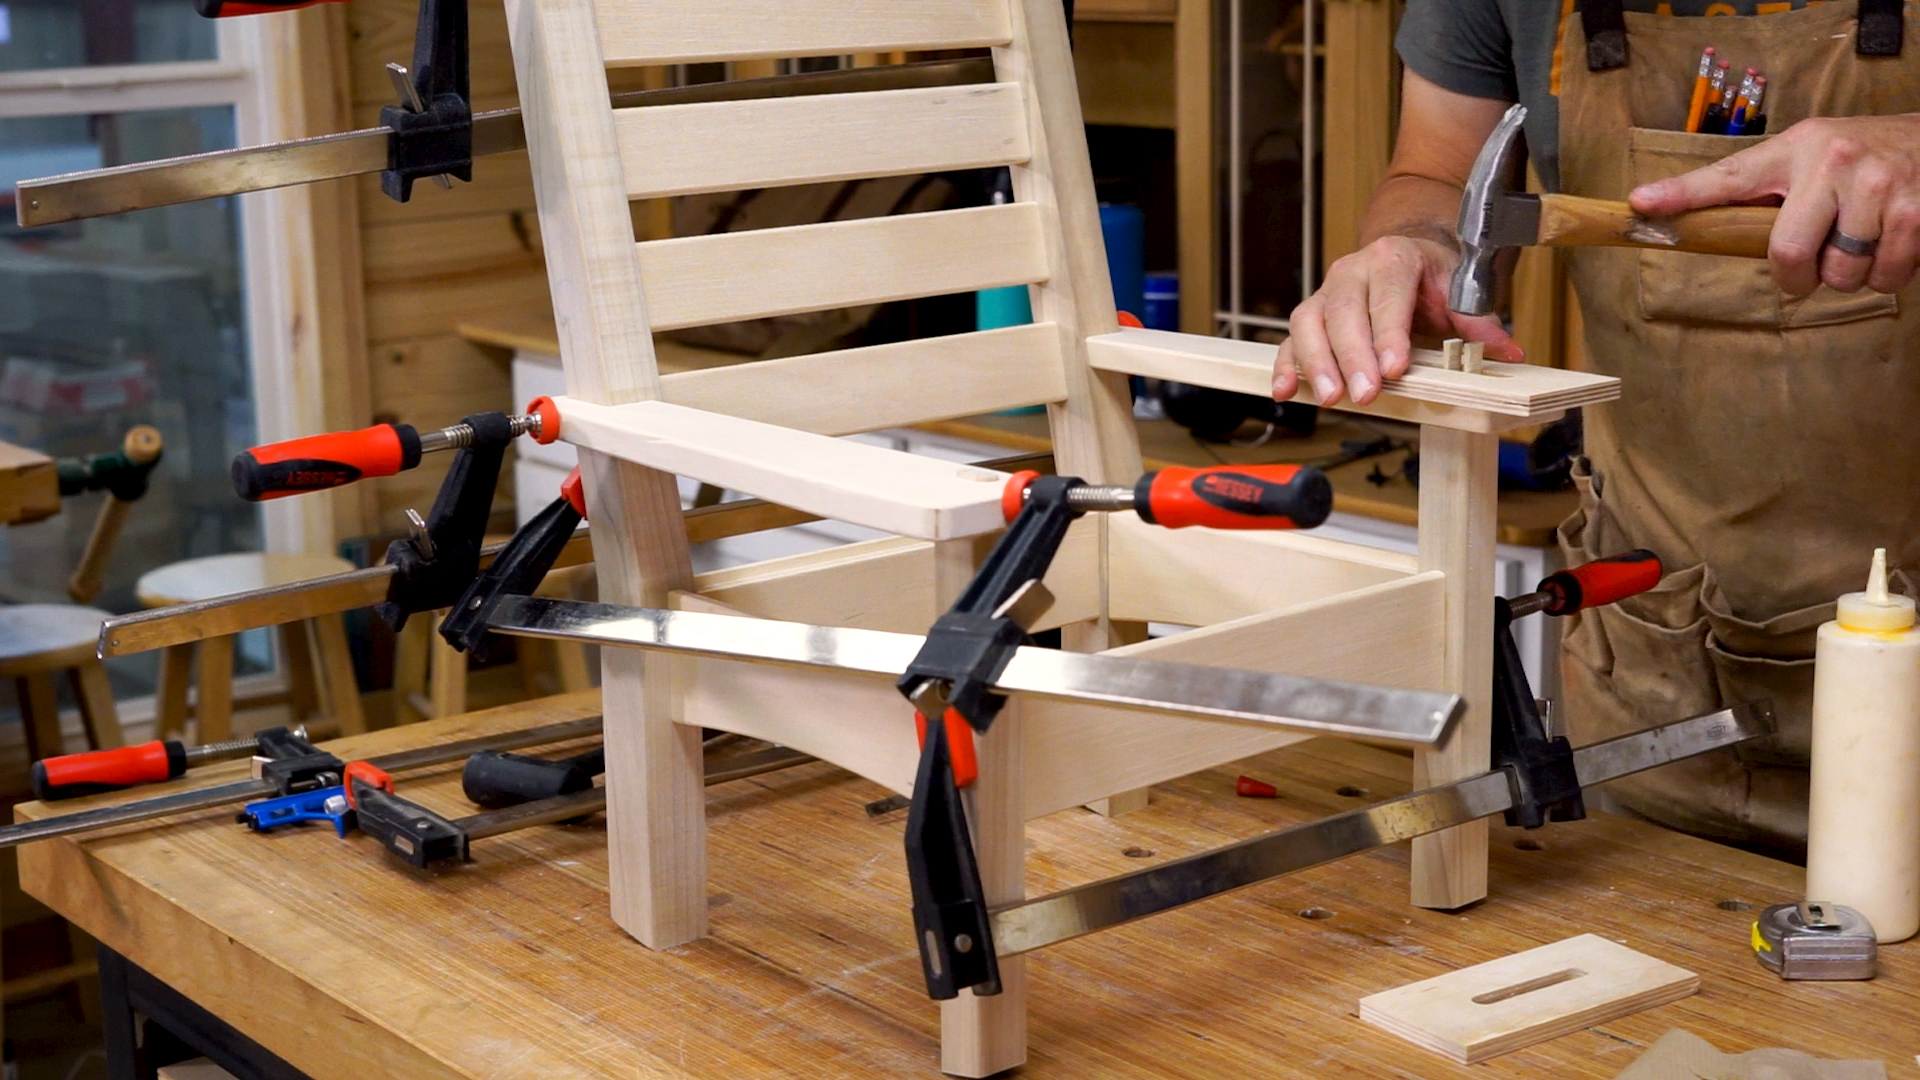
- Lesson 10.1 – The Big Moment(s)
- Lesson 10.2 – Sanding Basics
- Lesson 10.3 – Final Assembly
- Lesson 10.4 – Assembly Pro-Tips
- Lesson 10.5 – Congratulations!





Reviews
There are no reviews yet.